
Tip & Trick
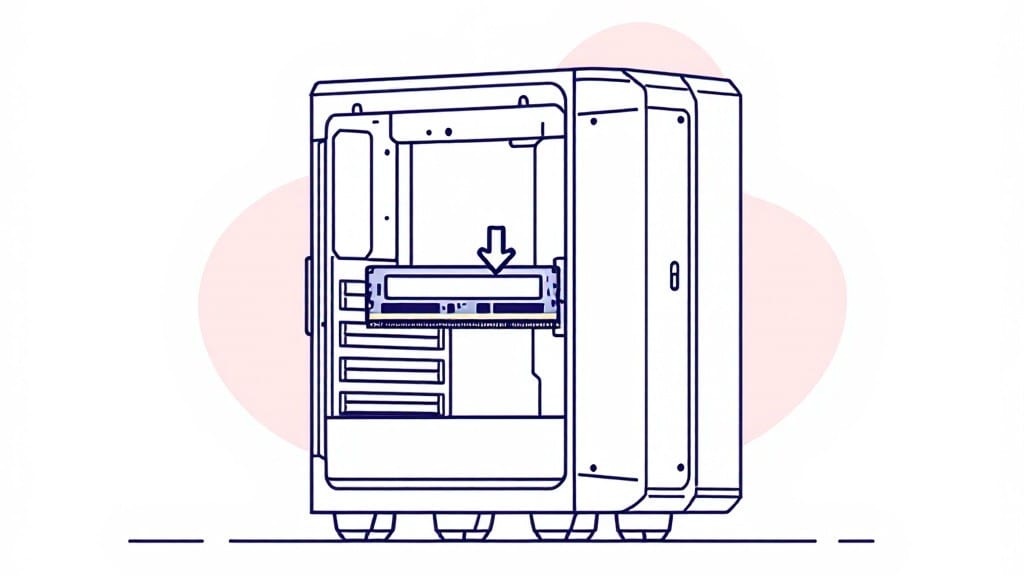
Installing RAM in a desktop PC isn’t rocket science—it’s more like snapping LEGO bricks together once you know the right slots. ⚡ I’ve done this upgrade on at least a dozen machines, including my uncle’s old IBM rebuilds back in Pittsburgh, and the process gets easier every time.
The key is patience and matching your RAM to the motherboard’s specs before you even touch the case.
You’ll need just three things: the RAM itself (check for DDR4 or DDR5 compatibility), an anti-static wrist strap (or just touch the case occasionally), and a Phillips screwdriver—though most modern RAM installs tool-free.
Start by powering down, unplugging, and grounding yourself to avoid static shocks that could fry your new memory. The motherboard’s manual will show you which slots to use for optimal performance, but if you’re unsure, stick to the first two slots for dual-channel setups.
Once seated, the RAM should click into place with a satisfying resistance—no wiggling needed. Boot up, and your system will either recognize it immediately or prompt you to update the BIOS if there’s a mismatch.
I’ve seen beginners panic when Windows doesn’t detect the RAM right away, but a quick restart usually fixes it. For peace of mind, run a stress test like MemTest86 to confirm everything’s working before slamming the case back together.
Here’s the secret sauce: most modern motherboards support mixed RAM types, but matching kits always perform better. If you’re upgrading from 8GB to 16GB, you’ll notice smoother multitasking—browsers won’t freeze, games load faster, and video editing software stays responsive.
And if you mess up? No harm done—just pop it out and try again. I’ve bricked more RAM than I’d like to admit, but this part’s foolproof.
📚 In This Guide
- What you need
- Instructions
- Tips and common mistakes
- Wrapping up and next steps
What you need
- ● RAM module(s): Check your motherboard’s manual for compatibility (e.g., DDR4-3200, 16GB/32GB kits). Match the type, speed, and capacity.
- ○ Anti-static wrist strap (optional but recommended): Prevents static damage to components (or use an anti-static mat).
- ● Phillips-head screwdriver (small, magnetic tip): For removing/securely reattaching the RAM slot covers.
- ● Compressed air or soft brush: Cleans dust from slots and modules.
- ● Power off your PC and unplug the power cable (safety first!).
- ● Remove the side panel of your PC case (consult your case manual if unsure).
- ● Check your motherboard manual for RAM slot layout (e.g., dual-channel pairing).
- ● Flashlight: Illuminates tight slots.
- ● Thermal paste (if overclocking): For CPU cooling.
- ● Notepad: To jot down slot configurations.
Step-by-step instructions for installing RAM in a desktop PC
Here's how to upgrade your memory without tools—just patience and gentle hands.
🔧 Step 1: Power Down and Prepare Your System
Shut down your computer completely and unplug the power cable from the back. I always wait at least 30 seconds after shutting down to let any residual power drain from the motherboard. This prevents static electricity from damaging sensitive components when you handle the RAM modules.
Ground yourself by touching the metal chassis of the case. This discharge step is crucial—static electricity can fry your RAM or motherboard if you're not properly grounded. Open the case by removing the side panel screws (usually 2-4 thumbscrews) and set it aside on a clean, flat surface.
💻 Step 2: Locate and Remove Existing RAM (If Needed)
Find the RAM slots on your motherboard—they're long, rectangular connectors with clips on either end. If you're replacing existing RAM, gently press the clips outward to release them. The modules should pop up at a slight angle—don't force them. If they're stuck, you might have pushed the clips in too far; press them outward again.
Here's the thing—some motherboards have RAM slots that are color-coded or labeled (like "A1/B1"). If your motherboard has these markings, match them to the slots you're using. For most upgrades, you'll want to install the new RAM in the lowest-numbered slots first (e.g., A1 and B1) to maintain compatibility with dual-channel configurations.
⚡ Step 3: Align and Insert the New RAM Module
Take your new RAM module and align the notch on the bottom edge with the corresponding gap in the slot. The notch ensures the module is oriented correctly—if it doesn't line up, you've flipped it. Gently press down firmly and evenly until you hear a satisfying click and feel the clips snap into place over the edges of the module.
Don't wiggle the module once it's seated. If it doesn't go in smoothly, stop and recheck the alignment. The clips should cover the entire edge of the RAM module once installed. If one clip isn't fully engaged, the module isn't seated properly and could cause instability or boot failures.
💡 Step 4: Secure and Reassemble the Case
Once the RAM is fully seated, close the side panel of the case and secure it with the screws you removed earlier. Make sure the screws are tight enough to keep the panel in place but don't overtighten—you don't want to strip the threads. This is also a good time to double-check that all other components (like your GPU or storage drives) are still securely connected.
Reconnect the power cable to the back of the case and power on your system. You'll know the RAM is recognized if your system boots normally and the BIOS or OS reports the correct amount of installed memory. If you see a message like "RAM not detected," power down immediately, reseat the module, and try again.
⏰ Step 5: Verify Installation and Test Performance
After booting into your operating system, open the system information tool (press Win + Pause/Break in Windows) to confirm the new RAM is detected. You should see the total amount of installed memory match the capacity of your new module(s). For example, if you installed a 16GB DDR4-3200 module, the system should report 16GB of usable RAM.
Run a quick memory test using tools like MemTest86 (free version available online) to ensure your new RAM is functioning correctly. This step is especially important if you're using the RAM for demanding tasks like video editing or gaming. Even if the system boots fine, a memory test catches subtle errors that could cause crashes later.
Tips & tricks for stress-free RAM installation
A few simple tricks will make your RAM upgrade feel like second nature—no tech anxiety required.
Static Electricity is Your Silent Enemy: I can't stress this enough—static electricity is the number one reason RAM installations fail. Beyond just grounding yourself by touching the metal chassis, work on a non-carpeted surface and avoid synthetic fabrics that generate static. If you're working on a carpeted floor, use an anti-static wrist strap or even hold the RAM module by its edges (not the metal contacts) to minimize risk. This simple precaution saved me from replacing a fried motherboard once.
The Notch is Your Best Friend: That tiny notch on your RAM module isn't just for looks—it's your alignment guide. When inserting in Step 3, make sure the notch on the module perfectly matches the gap in the slot. If it doesn't line up, you've flipped it. I've seen people force modules in upside down, which can damage both the RAM and the motherboard. Take your time here—this step prevents 90% of installation headaches.
Dual-Channel Pairing Matters: If you're installing two RAM modules (like matching 8GB pairs), pay attention to the slot labels in Step 2. Most motherboards use a color-coded scheme where slots A1/B1 or 1/3 work together for dual-channel mode. Installing them in mismatched slots (like A1/C1) won't damage anything, but you'll miss out on that performance boost. Check your motherboard manual if you're unsure—it's usually right on the first page.
Resistance is Normal (But Not Too Much): When pressing down on the RAM module in Step 3, you should feel some resistance—this is normal as the clips engage. However, if it feels like you're pushing against a wall, stop immediately. This usually means the module isn't properly aligned. The satisfying "click" you're aiming for should happen naturally when the clips snap into place over the entire edge of the module. If one side clicks but the other doesn't, the module isn't fully seated.
Pro Tips for Install Ram In A Desktop Pc
- A few simple tricks will make your RAM upgrade feel like second nature—no tech anxiety required.
- Static Electricity is Your Silent Enemy: I can't stress this enough—static electricity is the number one reason RAM installations fail.
- The Notch is Your Best Friend: That tiny notch on your RAM module isn't just for looks—it's your alignment guide.
Frequently asked questions
Got questions about upgrading your RAM? You’re not alone! Here are answers to the most common concerns to help you feel confident before diving in.
Do I need to turn off my PC to install RAM?
Yes! Always power down your PC and unplug it before opening the case. Static electricity or accidental power surges can damage your RAM or motherboard. Safety first—wait until the system is completely off and unplugged.
Can I mix different RAM brands or speeds?
Technically, you can mix RAM, but it’s risky. Your PC will default to the slowest speed or may fail to boot. For best performance, use identical kits (same brand, speed, and capacity). Check your motherboard manual for supported configurations.
How do I know if my RAM is installed correctly?
After inserting the RAM, gently press until the clips snap into place. If your PC powers on but shows no display, reseat the RAM—it might not be fully locked. Listen for a beep (if your motherboard supports it) or check BIOS for detection.
What if my slots aren’t labeled A1, A2, etc.?
Most modern motherboards have clear labels (e.g., DIMM1, DIMM2). If unsure, refer to your motherboard manual for the correct slot order. For dual-channel setups, pair identical RAM sticks in slots of the same color (usually A1/B1 or A2/B2).
Will installing RAM void my warranty?
No—installing RAM yourself won’t void your warranty, but opening the case might if you damage internal components. Keep receipts and avoid physical harm (e.g., forcing modules). If in doubt, check your manufacturer’s warranty terms.
What if my PC won’t boot after installing RAM?
First, reseat the RAM firmly. If the issue persists, try one stick at a time in the first slot (A1/DIMM1). If it boots, the other stick may be faulty. Test each stick individually to isolate the problem.
Wrapping up and next steps
You’ve made it! Installing RAM in your desktop PC is simpler than you thought—no fancy tools or tech skills required. With patience and the right steps, you’ve just given your system a performance boost that’ll keep it running smoothly for years. 🎉
Now that you’re a RAM pro, why stop here? Consider upgrading other components—like a faster SSD or more storage—to keep your PC at peak efficiency. Or, if you’re feeling adventurous, dive into overclocking (safely!) for even more power. Your next upgrade awaits!