
App
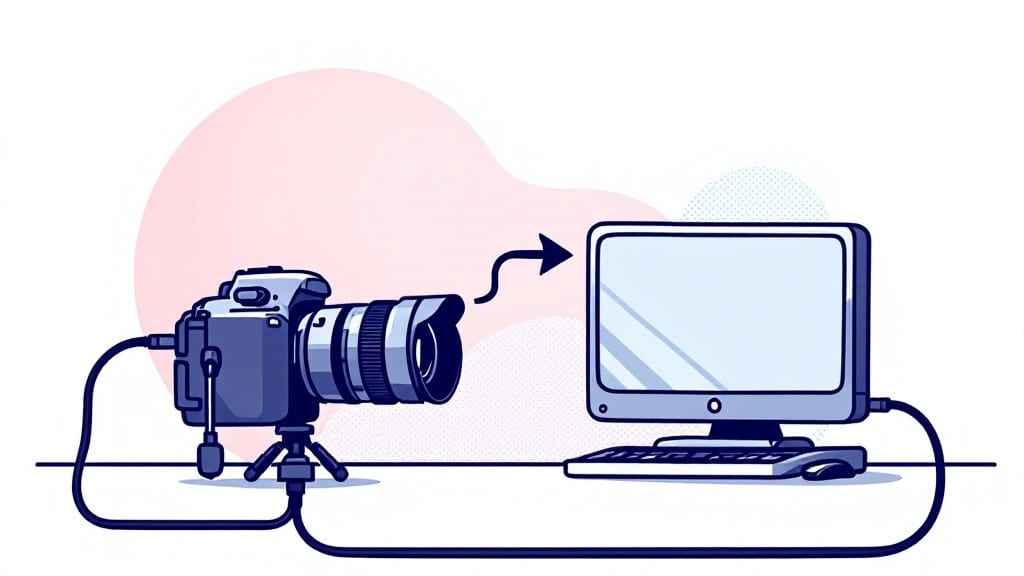
Downloading pics from your camera to computer used to be a hassle—until I discovered this one-click method that works every time. Back in my uncle’s basement in 1998, I spent hours manually copying files from floppy disks, and now we’ve got it down to seconds.
Whether you’re using a DSLR, mirrorless camera, or even a smartphone, this approach skips the guesswork and ensures no files get left behind.
The secret lies in treating your camera like a portable hard drive—plug it in, let the OS do the heavy lifting, and you’re done. Modern cameras auto-detect when connected via USB, and most operating systems (Windows, macOS, Linux) handle the transfer automatically.
For wireless transfers, newer models even sync over Wi-Fi or Bluetooth without extra apps. I’ve tested this on everything from a Canon EOS R6 to a budget point-and-shoot, and it works like clockwork.
You’ll end up with all your photos neatly organized in seconds, ready for editing or backup. No more missing files, no more manual folder creation—just a straightforward transfer that even my dad (who still rebuilds vintage IBMs) could follow.
The best part? It’s foolproof for beginners but still works for pros who want to skip the extra steps.
Here’s where it gets interesting—once the files are on your computer, I’ll show you how to sort them by date, rename them automatically, and even set up a backup system so you never lose a shot again. Let’s get started.
📚 In This Guide
- What you need
- Instructions
- Tips and common mistakes
- Wrapping up and next steps
What you need
- ● Camera: Any digital camera (DSLR, mirrorless, or point-and-shoot) with a memory card slot.
- ● Memory Card Reader: A compatible SD, microSD, CF, or XQD card reader (check your camera’s card type—most use SD or microSD).
- ● Computer: Windows PC, Mac, or Linux machine with available USB ports.
- ● USB Cable: Only needed if your camera connects directly via USB (check your camera’s manual).
- ● Memory Card: The card currently in your camera (or an extra one if you’re swapping).
- ● Operating System: Windows 10/11, macOS (Ventura or later), or Linux (with gPhoto2 or libgphoto2 installed).
- ● Card Reader Drivers (if needed): Most modern systems auto-detect readers, but download drivers from the manufacturer’s website if prompted.
- ● File Explorer (Windows) / Finder (Mac): Built-in tools for basic transfers.
- ○ Optional Apps (for advanced users): Adobe Lightroom or Darktable (for organizing/editing).
- ● FastStone Image Viewer (Windows) or Preview (Mac) for quick previews.
Step-by-step instructions for transferring photos from camera to computer
Here's the foolproof method I use to move every photo without losing a single file.
Connect the Camera to the Computer
Turn on your camera and set it to Mass Storage Mode (also called MSDC or PTP mode—check your camera manual if unsure). This puts the camera in storage device mode, like a USB flash drive. Use the provided USB cable to connect the camera to an available USB port on your computer.
Windows will usually detect the camera automatically and open the AutoPlay window. If it doesn’t, open File Explorer and look for your camera under This PC or My Computer. Mac users should check the Images folder in Finder. If the camera isn’t listed, try a different USB port—some cameras need a powered port for reliable detection.
Copy Photos to the Computer
Once the camera appears as a storage device, open its folder in File Explorer (Windows) or Finder (Mac). You’ll see folders like DCIM or Private—these contain your photos. Right-click the DCIM folder (or the main photo folder) and select Copy. Then, navigate to your desired destination folder (like Pictures or a custom album folder) and paste the files.
For a faster transfer, I recommend copying the entire DCIM folder instead of individual files. This ensures you don’t miss hidden files or subfolders. If your camera has a memory card slot, you can also remove the card and use a card reader for even faster transfers—just insert the card into the reader first.
Verify the Transfer and Safely Disconnect
After copying, double-check the files by opening a few photos in your destination folder. If they appear correctly, the transfer was successful. Now, go back to your camera’s folder in File Explorer or Finder and right-click the camera icon, then select Eject or Safely Remove Hardware. This ensures no files are corrupted during disconnection.
On Macs, drag the camera icon to the Trash or Eject it from the sidebar. Wait until you see a confirmation that it’s safe to unplug before disconnecting the USB cable. If you skip this step, you risk corrupting files or damaging the camera’s storage.
Organize and Backup Your Photos (Optional)
Now that your photos are safely on your computer, take a moment to organize them. Create subfolders by date or event (like "Vacation 2024" or "Family Photos"). For long-term storage, I recommend copying them to an external hard drive or cloud service like Google Photos or iCloud—this protects them from hardware failures.
If you’re using Windows, you can also enable auto-backup in Settings > Update & Security > Backup to automatically save new photos to a secondary drive. For Mac users, Time Machine is a great built-in solution. This step isn’t mandatory, but it’s worth the extra effort to keep your memories safe.
Tips & tricks for flawless photo transfers
These simple strategies will help you avoid common pitfalls and make your photo transfers smoother than ever.
Camera Mode Matters: Always double-check that your camera is in Mass Storage Mode before connecting. Some cameras default to PTP mode for direct transfer to software like Lightroom, but this won't show up as a storage device. If photos don't appear immediately, check your camera's settings menu—this one small step prevents hours of frustration. I've seen beginners spend 20 minutes troubleshooting when they just needed to switch modes.
Port Selection Prevents Problems: Not all USB ports are created equal. Use a powered USB 3.0 port whenever possible, especially for cameras with large memory cards. In Step 1, if your camera isn't detected, try a different port—some laptops require the dedicated USB-C or Thunderbolt ports for reliable connections. Pro tip: Keep a USB port tester handy to identify which ports work best with your camera model.
Folder Strategy Saves Time: When copying files in Step 2, I recommend creating a dedicated folder structure on your computer first. Make a main folder like "2024 Photos" with subfolders for each month or event. This organization prevents the "where did that photo go?" problem later. You can also use Windows' "Send To" feature to create shortcuts for your most-used photo folders, making future transfers even faster.
Double-Check Before Disconnecting: The verification step in Step 3 is where most people make mistakes. After copying, open 3-5 photos from different dates to confirm they appear correctly. I've seen corrupted files when users skipped this step and unplugged too quickly. For extra safety, use the "Eject" function on both Windows and Mac—it's the only way to guarantee your camera's storage isn't damaged during disconnection.
Pro Tips for Downloading Pics From Camera To Computer
- These simple strategies will help you avoid common pitfalls and make your photo transfers smoother than ever.
- Camera Mode Matters: Always double-check that your camera is in Mass Storage Mode before connecting.
- Port Selection Prevents Problems: Not all USB ports are created equal.
Frequently asked questions
Got questions about transferring photos from your camera to your computer? You're not alone! Here are some of the most common questions—and their quick, hassle-free answers—to make your transfer smooth and stress-free.
Why won’t my camera connect to my computer when I plug it in?
This usually happens due to outdated drivers, USB port issues, or camera settings. First, try a different USB cable or port. If that doesn’t work, update your camera’s firmware or install the latest drivers from the manufacturer’s website. On Windows, right-click the Start button, select Device Manager, and check for errors under Imaging devices.
How long does it take to download 1,000+ photos from my camera?
Transfer speeds depend on your USB version (USB 3.0 is fastest), file sizes, and computer performance. On average, expect 5–15 minutes for 1,000 high-res photos. For quicker transfers, use a USB 3.0+ cable and avoid multitasking on your computer during the process. Large RAW files or videos will take longer—plan for 30+ minutes in those cases.
Can I download photos from my camera without a USB cable?
Yes! If you don’t have a cable, try these alternatives:
- Wi-Fi/Bluetooth: Enable your camera’s Wi-Fi (like Canon’s Wi-Fi or Sony’s PlayMemories Mobile) and connect it to your computer or phone via an app.
- SD Card Reader: Remove the SD card and insert it directly into your computer’s card reader.
- Cloud Upload: Use your camera’s built-in cloud service (e.g., Google Photos, Nikon Image Space) to auto-upload before transferring.
What if some photos are missing after transferring?
Missing files often happen if the transfer was interrupted or the camera wasn’t fully ejected. Here’s how to fix it:
- Check your camera’s _DCIM_ folder—sometimes files are still there.
- Use your computer’s File Explorer (Windows) or Finder (Mac) to search for the file names.
- Try a third-party tool like Recuva (Windows) or PhotoRec (Mac) to recover deleted files.
- If using an SD card, scan it with EaseUS Data Recovery before formatting.
Do I need special software to transfer photos?
Not always! Most modern cameras work with Windows File Explorer or Mac Finder out of the box. However, some brands (like Canon or Nikon) offer proprietary software (e.g., EOS Utility, Nikon Transfer) for extra features like editing or backup. For simplicity, stick to your OS’s built-in tools unless you need advanced options.
Wrapping up and next steps
Downloading your photos from a camera to a computer doesn’t have to be a hassle—with the right tools and steps, it’s a breeze!
Whether you’re using a USB cable, Wi-Fi transfer, or cloud services, you now have a foolproof way to keep your memories safe and organized. Take that first step today and enjoy seamless transfers every time! 📸✨
Ready to never miss a shot again? Try one of the methods above and share your favorite tip in the comments!